Homemade Chocolate Syrup for Coffee: A 10-Minute Recipe That Beats Every Store-Bought Version
This post may contain affiliate links. See our disclosure policy for details.
Chocolate syrup from a bottle is fine. Hershey’s does the job, nobody’s complaining. But when you make it yourself — even once — you’ll understand immediately why every serious café makes their own. The flavor difference is real, it takes 10 minutes, costs almost nothing, and you can control exactly how sweet, how dark, and how complex it tastes.
More importantly, once you have a jar of homemade chocolate syrup in the fridge, mochas, chocolate lattes, affogatos, and iced coffees become completely different drinks. The chocolate actually tastes like chocolate — not corn syrup with cocoa flavoring.
The Basic Recipe (And Why These Ratios Work)
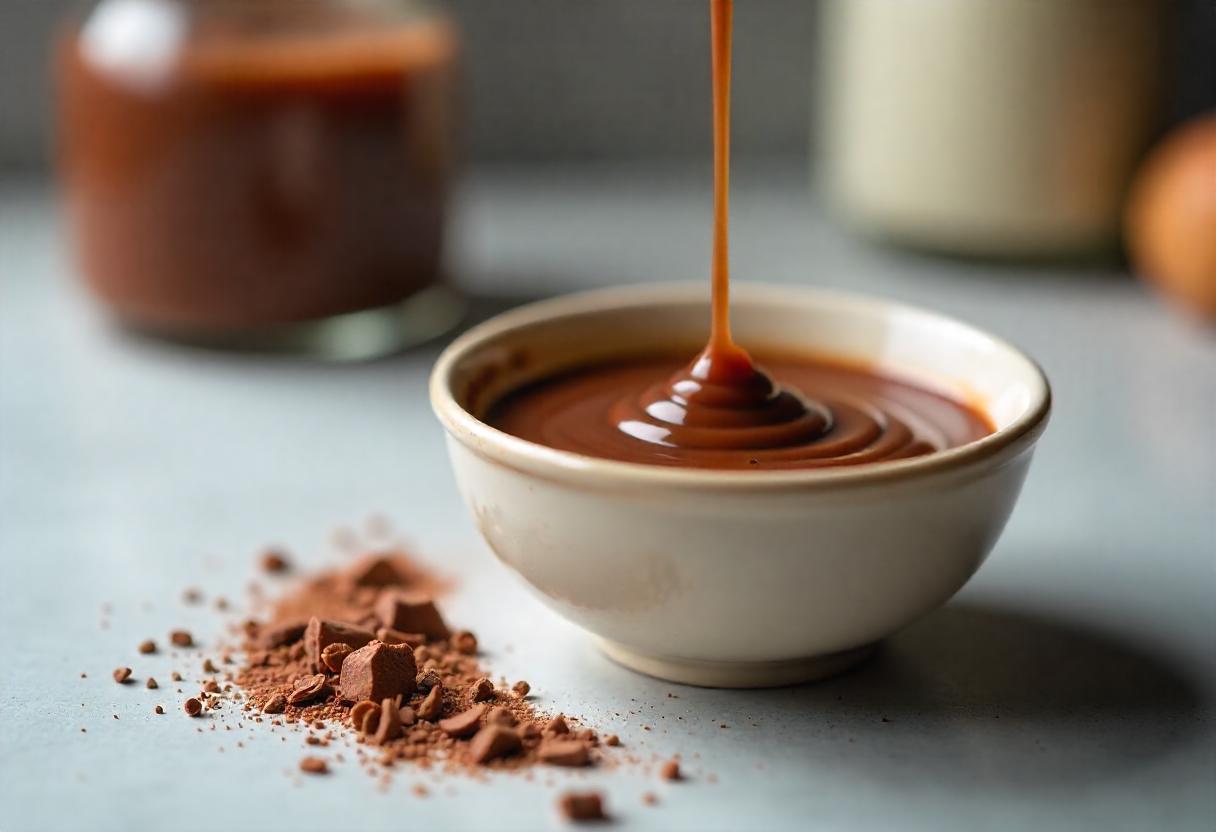
Chocolate syrup is essentially a saturated sugar solution with cocoa dissolved in it. The science is simple: sugar dissolves in water when heated, cocoa powder disperses in the hot liquid, and as it cools it thickens into a pourable syrup. The ratio of water to sugar to cocoa determines thickness, sweetness, and intensity.
Standard recipe (makes approximately 1 cup / 16oz of syrup):
- 1 cup (200g) white granulated sugar — or swap half for brown sugar for a richer, molasses-forward flavor
- 1 cup (240ml) water
- ¾ cup (75g) unsweetened cocoa powder — quality matters significantly here (see below)
- 1 teaspoon vanilla extract — added at the end, off heat
- ¼ teaspoon fine sea salt — mandatory, not optional. Salt suppresses bitterness and amplifies all other flavors.
- Pinch of espresso powder (optional, ~½ tsp) — deepens the chocolate flavor without tasting like coffee
Method:
- Combine water, sugar, and cocoa powder in a small saucepan. Whisk until the cocoa is mostly dissolved — some lumps are fine at this stage.
- Heat over medium heat, stirring constantly, until the mixture comes to a low boil. You’ll see the lumps dissolve as it heats.
- Reduce heat and simmer for exactly 2 minutes, stirring. The syrup will thicken slightly. It’ll look thinner than you expect — it thickens significantly as it cools.
- Remove from heat. Stir in vanilla, salt, and espresso powder if using.
- Cool to room temperature, then transfer to a glass jar with a lid. Store refrigerated.
Shelf life: 3–4 weeks refrigerated. The high sugar content acts as a preservative. If you see any mold or it smells off before that, discard — but this is rare with proper storage in a clean jar.
Cocoa Powder: The Decision That Matters Most
The most impactful variable in chocolate syrup is the cocoa powder. There are two types — natural (non-alkalized) and Dutch-process (alkalized) — and they produce noticeably different results:
Natural cocoa powder (Hershey’s Natural, Ghirardelli Unsweetened) has a bright, slightly fruity, more acidic chocolate flavor. It’s what most American recipes call for by default. In a chocolate syrup for coffee, this acidity pairs well with the natural acidity of espresso.
Dutch-process cocoa (Valrhona, Droste, Guittard Cocoa Rouge) has been alkalized to neutralize acidity, producing a darker color, smoother flavor, and deeper chocolate intensity. More like what you’d taste in a high-end European chocolate. For coffee syrups, Dutch-process produces a richer, less sharp result that many people prefer.
The premium option: Valrhona 100% Cacao Pure Cocoa Powder (~$15 for 250g) is the cocoa used by pastry chefs and specialty cafés worldwide. Using Valrhona in this recipe instead of a grocery store brand produces a syrup that genuinely tastes like a high-end mocha. The price per batch is still under $3 even with premium cocoa — it makes a lot of syrup.
If you want to go further: substitute ½ cup of the cocoa with finely grated 70%+ dark chocolate (like Lindt Excellence 70%). The additional cocoa butter from the chocolate bar makes the syrup slightly richer and more glossy.
Variations Worth Making
Mocha Syrup (for espresso drinks)
Add 1 tablespoon of instant espresso powder to the base recipe. The espresso intensifies the chocolate flavor and creates a richer base for mochas. This is the closest to what Starbucks uses in their mocha sauce.
Dark Chocolate Syrup
Increase cocoa to 1 full cup and reduce sugar to ¾ cup. Use Dutch-process cocoa. The result is less sweet, more intensely chocolate — excellent for people who find standard chocolate syrup too sugary.
Spiced Mexican Chocolate Syrup
Add 1 teaspoon of ground cinnamon, a pinch of cayenne (¼ teaspoon maximum — it’s stronger than you think), and ½ teaspoon of almond extract instead of vanilla. This is the flavor profile of traditional Mexican hot chocolate. Exceptional in cold brew or over ice.
Salted Caramel Chocolate Syrup
Replace ½ cup of white sugar with dark brown sugar. Increase salt to ½ teaspoon. Add 1 tablespoon of unsalted butter at the end when you add the vanilla. The butter gives it a slight caramel richness and glossy finish.
How to Use It in Coffee Drinks
| Drink | Amount of syrup | When to add it | Notes |
|---|---|---|---|
| Hot mocha latte | 1–2 tablespoons | Into espresso before milk | Stir into hot shot — it dissolves instantly |
| Iced mocha | 2 tablespoons | Into espresso before ice/milk | Stir well — cold drinks need more agitation to mix |
| Drip coffee mocha | 1–2 tablespoons | Stir into hot coffee | Works in any hot coffee, not just espresso |
| Affogato drizzle | 1 teaspoon | Drizzle over ice cream before espresso | The dark chocolate contrasts with vanilla beautifully |
| Cold brew chocolate | 2 tablespoons | Stir into cold brew, then add ice/milk | Use slightly more than for hot drinks — cold mutes sweetness |
Frequently Asked Questions
How long does homemade chocolate syrup last?
3–4 weeks stored in a sealed glass jar in the refrigerator. The sugar content acts as a natural preservative. Signs it’s gone bad: mold on the surface, off smell, or unusual texture changes. If you make it in a clean, sterile jar and keep it cold, it typically lasts the full 4 weeks easily.
Can I use cocoa nibs instead of cocoa powder?
Cocoa nibs won’t dissolve or disperse in a syrup the way powder does — you’d end up with bits of nib in your syrup. However, you can steep whole cocoa nibs in the hot water for 10–15 minutes before straining them out, then add your cocoa powder and sugar. This “double chocolate” method gives a deeper, more complex flavor with additional earthy, fermented notes from the nibs. Optional but interesting if you want to experiment.
Why did my chocolate syrup turn lumpy?
Lumps in chocolate syrup happen when cocoa powder isn’t properly dispersed before heating. Fix: whisk the cocoa powder into the cold water first, creating a smooth slurry before adding sugar and heating. The cold water step prevents the cocoa from clumping when it hits hot liquid. If you already have lumps, blend the finished (cooled) syrup briefly with an immersion blender — this solves the problem completely.
Is homemade chocolate syrup better than Hershey’s?
For coffee drinks, yes — meaningfully so. Hershey’s Chocolate Syrup contains corn syrup as its primary sweetener, which produces a flatter, one-dimensional sweetness. Homemade syrup with quality cocoa produces more complex chocolate flavor with better bitterness balance. The taste difference is most noticeable in hot drinks where the flavors are more concentrated. For ice cream topping where you want nostalgic sweetness, Hershey’s is genuinely fine. For coffee, make your own.
Final Thoughts
This is one of those recipes that once you make it, you’ll make it monthly on autopilot. Ten minutes, under $2 worth of ingredients per batch, and you’ll never reach for a commercial chocolate syrup bottle for your coffee again. The Valrhona version specifically — make that at least once. It turns a basic mocha into something that actually tastes expensive.