Easy Guide to Create Café-Style Latte Art at Home
Café-Style Latte Art at Home: Have you ever admired the beautiful swirls and hearts in your favorite coffee shop latte and thought, “How do they do that?” Well, good news — you don’t need to be a professional barista to create latte art at home. With a few basic tools, some practice, and a bit of patience, you can turn your morning cup of coffee into a masterpiece.
In this beginner-friendly guide, we’ll walk you through how to make café-style latte art at home using simple steps. Whether you’re looking to impress your friends or just enjoy your coffee a little more, you’re in the right place.
What Is Latte Art?
Latte art is the design or pattern made in the foam layer of steamed milk atop espresso. It’s all about getting the right texture and pouring technique. Think of it like drawing, but with milk and coffee as your canvas. The most popular designs? Hearts, rosettas (leaf-like shapes), and tulips.
But don’t worry if that sounds complicated — we’ll break it all down.
What You’ll Need
Before you get started, gather these tools and ingredients. Don’t worry — most are easy to find and you might already have them at home.
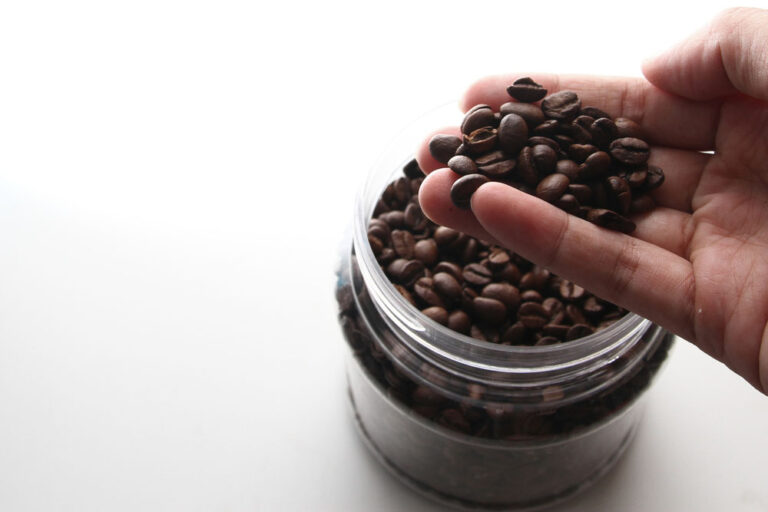
- Espresso or strong coffee – A good base is important. If you don’t have an espresso machine, you can use a Moka pot or Aeropress for a strong brew.
- Fresh milk – Whole milk is best for beginners because it froths well, but you can experiment with oat, almond, or soy later on.
- Milk frother or steam wand – A handheld frother, manual frother (like a French press), or an espresso machine with a steam wand all do the trick.
- Milk pitcher – A small stainless-steel pitcher with a spout helps with pouring precision.
- Cup – A wide-mouthed cup (8–12 oz.) gives you room to work your magic.
Step-by-Step: How to Make Latte Art
Let’s break the process into three main steps. Think of it like baking — just follow the recipe and you’ll get better with practice.
Step 1: Brew the Espresso
Start by brewing one or two shots of espresso. Use freshly ground coffee for the best taste and crema (that thin, golden layer on top of the espresso). Pour it into your mug and set it aside while you steam your milk.
Step 2: Steam and Froth the Milk
This step is crucial because your latte’s texture depends on it.
– If you’re using a steam wand, insert it into the side of your milk pitcher with cold milk, and turn it on. Keep the wand near the surface to create foam, then deeper to heat the milk. You’re aiming for a smooth, velvety texture — not big bubbly foam like in a cappuccino.
– Using a frother or French press? Heat your milk first (but don’t boil it). Then froth until you get a slight bubbly sheen. Gently tap the container on your counter and swirl the milk to pop larger bubbles.
Pro tip: Your milk should feel like warm bathwater and look shiny, like wet paint.
Step 3: Pour the Milk
Here’s where the fun begins! Pouring properly helps form the design.
Start slow:
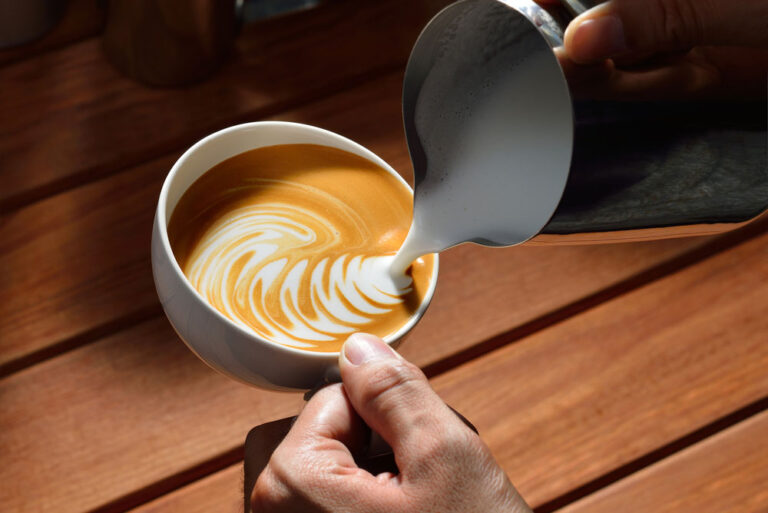
Hold your pitcher a few inches above the cup and pour into the center of the espresso. This helps the frothy milk dive under the crema.
Move closer:
When your cup is halfway full, bring the pitcher closer and pour a bit faster. This brings the foam to the surface and starts the pattern.
Design basics:
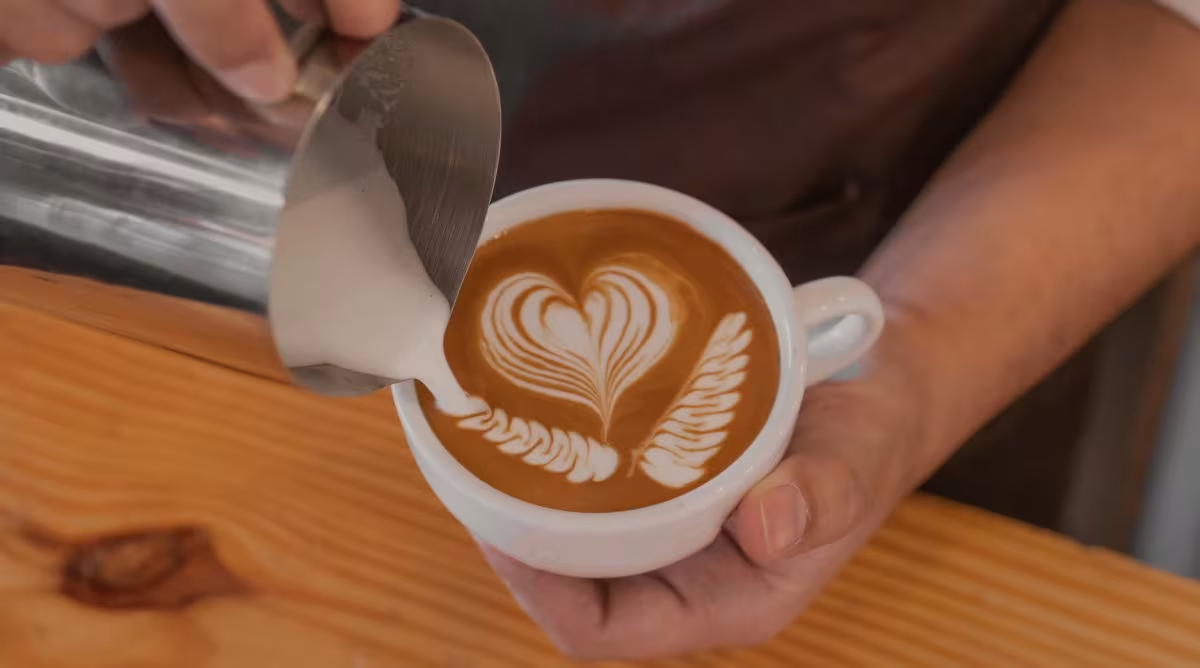
- Heart – Pour into the center, bring the pitcher close, then lift slightly and finish the pour with a little “cut” through the foam.
- Rosetta – Do the same as the heart, but gently wiggle the pitcher side to side as you pour.
- Tulip – Pour a small dot of foam, pause, then a slightly bigger dot on top, and do a “cut through” at the end.
It might take a few tries (let’s be honest, maybe a lot of tries), but that’s half the fun!
Tips for Better Latte Art
Even seasoned baristas had to start somewhere. Here are a few practical tips to help you improve faster:
- Practice with water and dish soap – Yes, really! It mimics milk texture and is cheap to practice with.
- Use fresh milk – Milk that’s been sitting in the fridge for weeks won’t froth well.
- Clean your tools – Old milk residue = off-tasting coffee and poor froth.
- Watch videos – Sometimes, watching someone do it is the best way to learn.
Not Perfect? That’s Okay.
Your first latte art might look more like a white blob than a heart — that’s totally normal. The point is to have fun and enjoy your coffee. Each time you practice, you’ll get a little better. One day that heart will finally appear, and you’ll feel like a coffee wizard.
Can’t get your milk texture right? Maybe try switching brands or types of milk. Having trouble with the pour? Watch a YouTube tutorial and follow along. Every little step helps you learn.
Beyond the Basics
Once you’ve nailed simple shapes, feel free to experiment. Try etching designs with a toothpick or drawing patterns like leaves or swans. You can even add a sprinkle of cinnamon or cocoa on top for a fancy touch. Make it your signature style!
Final Thoughts
Learning how to make latte art at home is a fun and rewarding hobby. It’s about more than just looks — it adds some creativity and joy to your coffee routine. Plus, it’s a great party trick when friends come over.
With some basic tools, a little practice, and a lot of patience, you’ll be crafting café-style latte art from the comfort of your kitchen.
So next time you brew your coffee, ask yourself: why not make it beautiful too?
Happy sipping!
If you enjoyed this latte art guide, be sure to check out our other posts on home brewing tips, coffee recipes, and barista skills for beginners. Let us know in the comments — what was your first latte art attempt like? Don’t be shy – we’ve all drawn blobs before the hearts. ☕️💕

