How to Make Chocolate Covered Espresso Beans at Home
Anyone who has ever been in a coffee shop has seen chocolate covered coffee beans and wondered how to make chocolate covered espresso beans themselves.
They’re absolutely delicious, but prices run sky high and are honestly ridiculous. Forget forking over all that money! With this recipe, you’ll be making them yourself all the time.
Let’s dive right into it.
How to Make Chocolate Covered Espresso Beans
The very first thing you should do to make yourself some chocolate-covered espresso beans is to gather your supplies.
You’ll need either a silicone baking mat or a cookie sheet with parchment paper on it, a microwave-safe bowl, and a fork. Once you’ve got all of that, get your ingredients together.
The recipe itself is pretty straightforward. The only ingredients you’ll need are espresso beans and the chocolate of your choice.
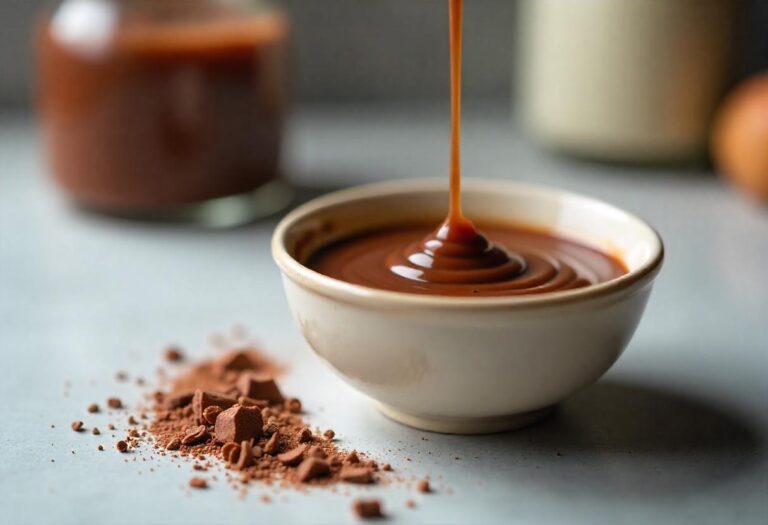
Start by either setting out your silicone mat or lining your cookie sheet, and then place your half cup of chocolate chips or pieces in your microwave-safe bowl.
Then heat your chocolate in 30-second increments — that way you can avoid burning it. Be sure to stir the chocolate between each heating!
Once your chocolate has been melted, take the bowl out of the microwave with care, because it will be hot, and open up your bag of coffee beans.
You’ll want to use one cup of espresso beans, folding them into the chocolate with your fork until they are evenly coated.
Then all there is to do is set out the chocolate-covered espresso beans on your baking sheet or silicone mat one by one.
Leave them be overnight or store them in the fridge for an hour to allow the chocolate to harden.
Then once the chocolate has hardened and your espresso beans are dry, you’re ready to dig in!
Other ways to heat your chocolate
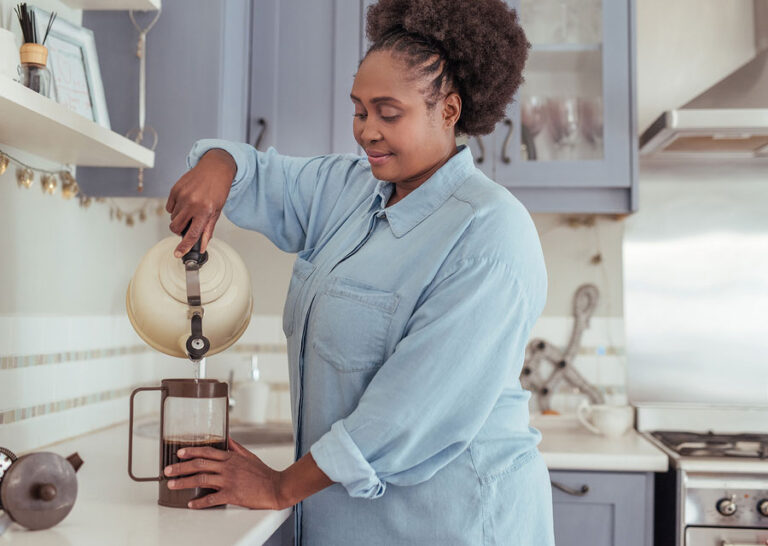
If you either don’t have or would prefer not to use a microwave to heat up your chocolate, that’s perfectly fine! There are other ways to melt chocolate.
Another way to melt down your chocolate includes using the stovetop. Start by chopping up your chocolate or pouring your chocolate chips into the top of a double broiler.
Then, keeping your chocolate over barely simmering water, your chocolate should melt as you stir it. Once it’s smooth and glossy, you’re ready to fold in your espresso beans.
Milk chocolate vs. Dark chocolate
But before you make your beans, you want to choose the best chocolate.
In all honesty, it depends on the person eating the chocolate coffee beans. Many people prefer dark chocolate simply because it has a higher caffeine content.
Dark chocolate is better for melting, too. While you can melt milk and white chocolate, it’s a well-known fact that the lighter the chocolate, the more likely it is to burn.
Milk and white chocolate have a melting point of between 80 and 90 degrees. While dark chocolate, however, has a melting point of about 90 degrees and is less likely to burn in a short amount of time.
But if you’re careful with the melting process, you can use just about any chocolate you want.
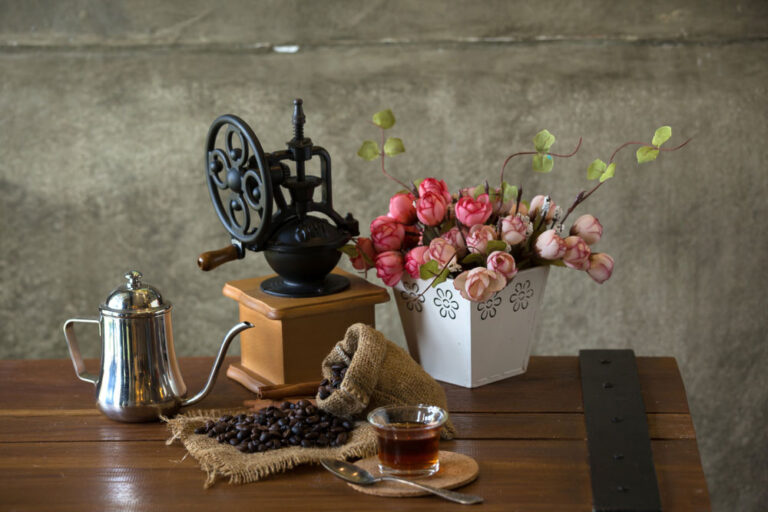
Espresso beans vs. Coffee beans
One big question that you might be asking is the difference between a regular coffee bean and an espresso bean!
The truth is, they’re technically the same thing.
An espresso bean is just a coffee bean that has been roasted a little more and is usually ground finer if it’s being brewed. It’s also brewed in an espresso machine instead of a regular coffee machine.
Both espresso and regular coffee beans are great when covered in chocolate, so feel free to use either one for this recipe!
Getting the Best out of Your Beans
If you’ve made more chocolate-covered espresso beans than you can eat in one sitting, don’t throw them away! They make great morning and afternoon snacks, and they can be stored.
From storage to freezing to what to serve with these beans, we’re here to help you get the absolute best out of your homemade chocolate-covered espresso beans.
How to store your beans
To store your chocolate-covered espresso beans, keep them in a dry, airtight container.
Keep your container at room temperature, or store them in the fridge to enjoy them cold!
Just try to keep them at room temperature or colder, and don’t keep them in warm places where the chocolate could melt back off and get everywhere.
Can you freeze chocolate-covered espresso beans?
You might be wondering if you can store your chocolate-covered espresso beans in the freezer or not.
And yes, you can! You can use the freezer to both speed up the chocolate’s hardening process and store them for up to a month.
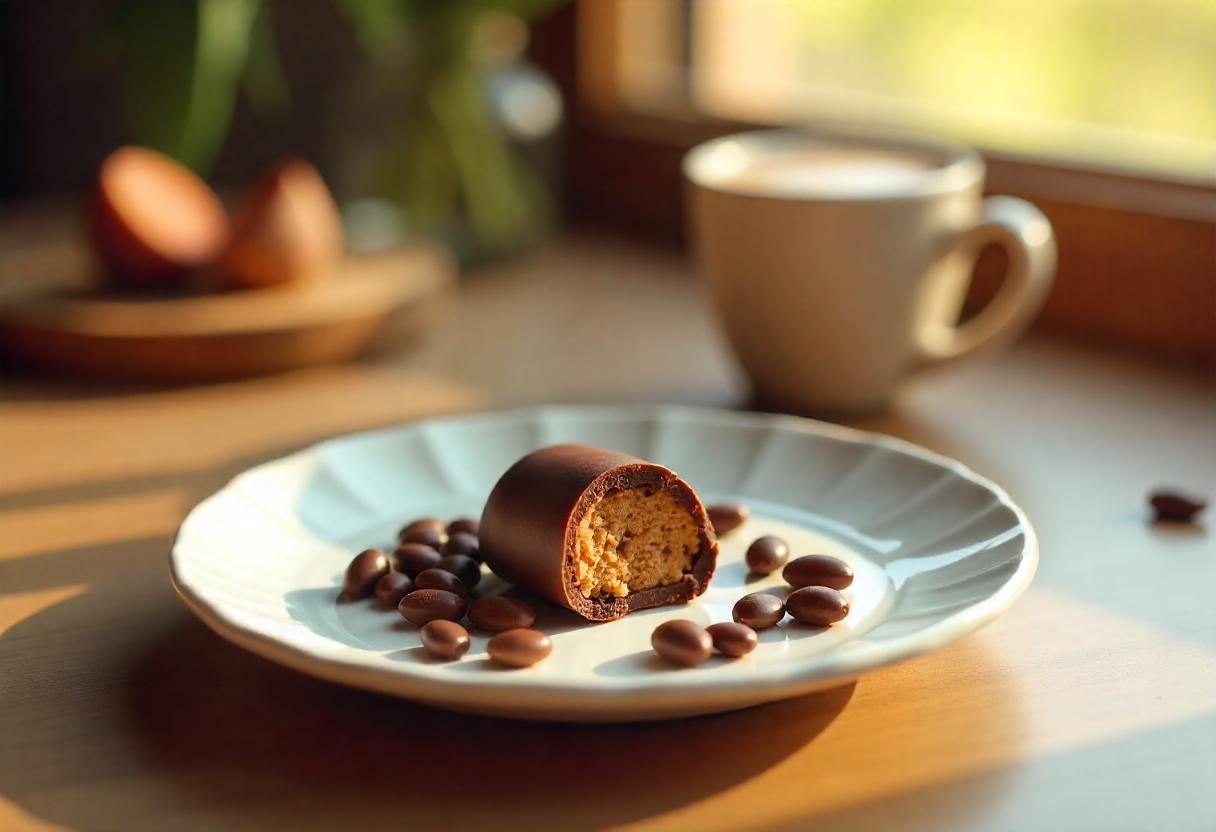
What Should I Serve with Chocolate Covered Espresso Beans?
The best thing about chocolate-covered espresso beans is that they go great with almost everything.
The absolute best thing to have with a handful of chocolate-covered espresso beans is of course a little bit of coffee. Just don’t overdo it, because all that caffeine will have you bouncing off of the walls!
Another great way to use your chocolate-covered espresso beans is to put a couple of them on top of a chocolate cheesecake!
But sometimes homemade chocolate-covered espresso beans are just right all by themselves.
Espresso Bean Recipes
Have more chocolate-covered espresso beans than you know what to do with? Try a few recipes to use them up!
From cookies to cheesecakes, these desserts are sure to hit the spot all while giving you the caffeine boost you need.
Espresso coffee bean cookies
Just about everyone loves cookies, right? And while classic chocolate chip cookies are always a hit, they can be improved — with chocolate-covered espresso beans!
For this recipe, you’ll need butter, shortening, sugar, eggs, brown sugar, vanilla, baking soda, flour, cinnamon, espresso powder, chopped almonds, toffee bits, and of course, chocolate coffee beans.
Once you’ve got all the ingredients you need, you can get started!
Cream a half cup of butter and a half cup of shortening in a bowl with an electric mixer on medium speed. Then gradually beat in 3/4 cup of packed brown sugar and 3/4 cup of regular sugar.
Once that’s done, add two eggs and a teaspoon of vanilla.
After that’s all combined, add 2 to 2 1/2 cups of flour, a teaspoon of baking soda, two teaspoons of espresso powder, a teaspoon of salt, and a half teaspoon of cinnamon.
Then finally stir in your cup of chopped almonds, a cup of chocolate-covered espresso beans, and a cup of toffee bits.
After the dough has been covered and left to chill for an hour, you’re ready to scoop it onto a baking sheet and bake at 350 for 10 to 11 minutes.
Then after that, all there is to do is let them cool and then enjoy!
Raspberry-mocha chocolate bark
Another amazing dessert that you’re sure to love is raspberry-mocha bark. It’s so good that you won’t believe you made it at home!
To get started, you’ll need five ingredients. White baking chips, shortening, seedless raspberry preserves, chocolate-covered espresso beans, and dark chocolate chips.
Now line a nine-inch square pan with tin foil, and then set it aside for later.
Melt down 1 1/4 cup of white chocolate chips and a half teaspoon of shortening in your microwave, stirring them together until they’re smooth. Then spread the mix into your prepared pan.
Then you’ll want to microwave your 1/4 cup of raspberry preserves in 10 to 20-second intervals. Only heat it until it is melted, then stir it until smooth.
Pour the heated preserves over the chocolate in the pan by the spoonful, swirling the layers together with a knife.
Now crush up about four tablespoons of your chocolate-covered espresso beans and sprinkle half of them on top. Now refrigerate the mixture until it is firm — about 10 minutes.
Then melt down one cup of dark chocolate chips and a half teaspoon of shortening, stirring until it is smooth.
Spread the dark chocolate over the white chocolate layer, and add two tablespoons of chopped dark chocolate on top, as well as your remaining chopped espresso beans.
Then just refrigerate your bars until they’re firm, then break them into small pieces, and enjoy!
Double chocolate espresso cheesecake
And finally, we have a double chocolate espresso cheesecake that is simply to die for. One bite of this and you’ll be in heaven.
For the crust, you’ll need 1 1/2 cup of crushed vanilla wafers, 2 tablespoons of sugar, 1/4 cup of melted butter, 1/4 teaspoon of instant espresso powder, and 2 tablespoons of sugar.
Then for the filling, you’re going to need four 8 ounce packages of cream cheese, a cup of sour cream, 1 1/2 cup sugar, a cup of melted baking chocolate chips, and 1/2 cup baking cocoa.
You’ll also need a tablespoon of flour, 5 large eggs, 1 1/2 teaspoon of instant espresso powder, 1/4 cup of half and half cream, and a teaspoon of vanilla extract.
And for the topping, you’ll want to use a cup of coffee liqueur, a cup of heavy whipping cream, two tablespoons of powdered sugar, a half cup of chopped chocolate chips, and a cup of heavy whipping cream.
And then, of course, chocolate-covered espresso beans. You can add as many of those on top of your cheesecake as you’d like!
If you’ve got all of your ingredients together, let’s get started!
Time to cook up that cheesecake
First, grab your springform pan and wrap it in heavy-duty foil, wrapping it securely around the pan.
Then in a large bowl, mix the wafer crumbs, sugar, butter, and espresso powder to create the crust. Once your ingredients are well combined, press the mix into the cheesecake pan.
Now in another bowl, beat together your cream cheese, sour cream, melted chocolate, sugar, half and half, cocoa, and flour until the batter is smooth.
Then add your eggs, beating the batter on a low speed until it’s well combined, then stir in your vanilla extract and espresso powder.
Once your filling is all mixed together, pour it into its crust in the springform pan, placing the springform into a larger pan with an inch of water.
Then bake it at 350 for between 60 and 70 minutes. Allow it to cool for 10 minutes before removing it from the pan, and then allow it an additional hour to cool off before being refrigerated overnight.
Once the cheesecake has cooled overnight, you’re ready to start on the topping!
Simply combine your liqueur and half and half in a small saucepan and bring it to a boil, cooking until the liquid is halved.
And in a separate bowl, you should whip the whipping cream until it begins to thicken, add your powdered sugar, and finish whipping it until stiff peaks form.
Then you just have to add the coffee syrup to your cheesecake along with the whipped cream and chocolate covered espresso beans, and then finally enjoy!
Espresso Yourself
Now you have everything you need to get started on your very own chocolate-covered espresso beans. Move over, Starbucks — everyone knows that homemade everything is the best.
Whether your espresso beans are covered in milk or dark chocolate, we hope they’re the crunchy caffeinated kick you’ve been searching for.
And now that you know how to make chocolate-covered espresso beans, we hope you have fun!
How did your chocolate-covered espresso beans turn out? Do you prefer milk or dark chocolate?
Leave us a comment down below and let us know! We look forward to hearing from you.
You might also like: Elevate Iced Coffee at Home: Tips to Glow Up Your Cup of Joe